DWUser.com
Empowering Web Creativity
Support Center - EasyRotator for WordPress
On-Demand Support Options
Resources to help you get started and use EasyRotator for WordPress:
- Plugin Installation and Activation
- Wizard Application Installation
- Adding Rotators to Posts and Pages
- Adding Rotator Widgets to Your Site
- Advanced Plugin Options
KnowledgeBase / Common issues:
- Common EasyRotator Editor Application Errors
- Common Installation Problems
- WordPress Code Corruption Error Message
- Adding Sliders to Your Theme's Header / Homepage: WordPress Template Function
- Changing Fonts, Colors and Arrow Images: Making Layout Customizations
- Avoiding Photo Cropping: Setting the Image Scaling Mode
- Making Rotators Responsive
- Setting Rotator Alignment
- Duplicating a Rotator
- Video FAQs
- Permissions Error #3013
- Images Don't Appear in Rotator
- Using EasyRotator on an SSL Site
Plugin Installation and Activation
To get started, you need to install the EasyRotator for WordPress plugin into your WordPress site:
- Download the latest plugin package from the WordPress.org repository.
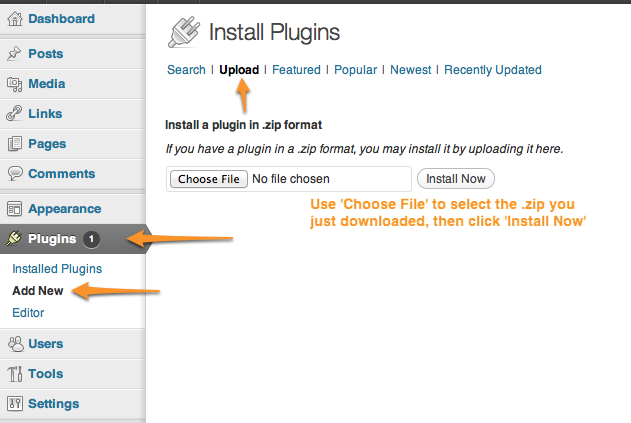
- Open the WordPress admin dashboard on your site and select Plugins > Add New. Choose the Upload tab, then select the .zip file you just downloaded. Click Install Now and follow the on-screen instructions.
- When prompted, click the Activate option to activate the plugin.
If you have any trouble with the installation, try installing manually.
Wizard Application Installation
Attention Google Chrome Users:
Are you having trouble with "You need to install AIR" and "Download Failed" messages when attempting to create or edit rotators? You are experiencing an issue with the latest version of Chrome and Adobe AIR. To learn how to avoid the problem, see this article.
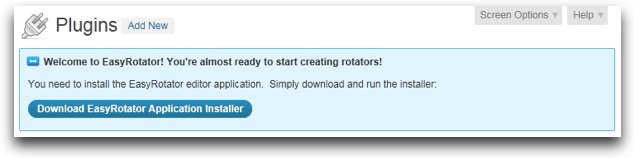
Once you have clicked the Activate option to activate the newly-installed plugin, the page will reload and you'll be prompted to install the EasyRotator editor application:
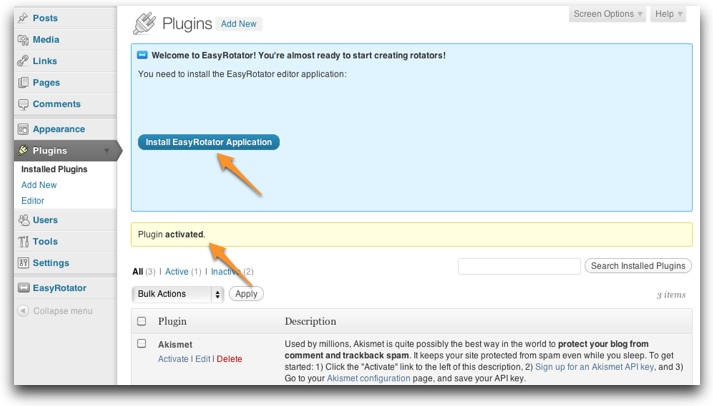
Click the Install EasyRotator Application button to continue. Be patient - it may take a minute for the installation to initialize! Depending on your system configuration, you may receive the following prompt:
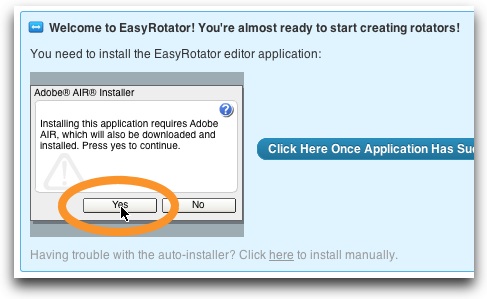
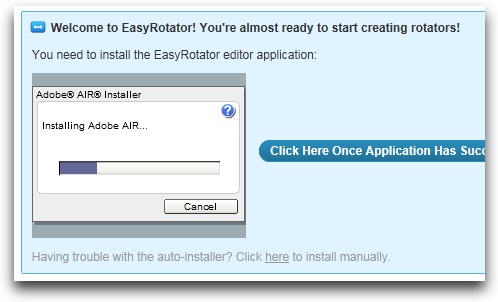
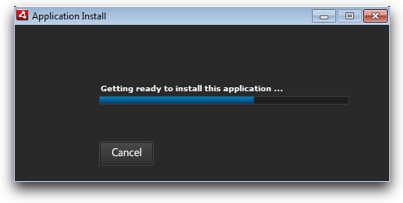
If you do see it, click Yes to continue, then wait for a moment while the installation takes place. Either way, you'll next see the editor application downloading:
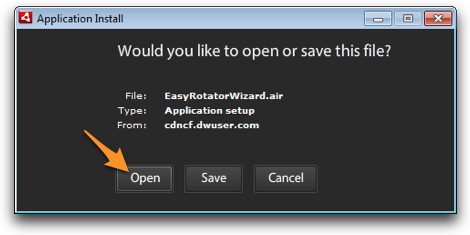
Once the download is complete, you'll be asked to Open or Save the file. Click Open to continue:
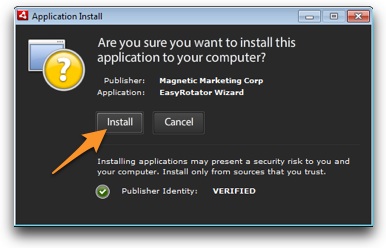
Click Install to continue:
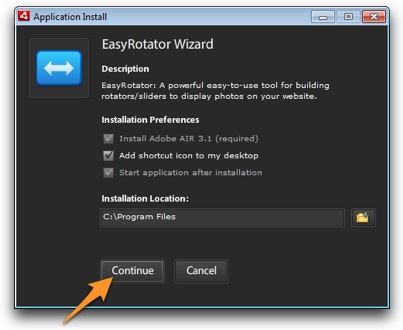
You'll be prompted with installation options; simply leave the default values and click Continue to proceed:
The application installation will then complete momentarily and the EasyRotator application will automatically launch:
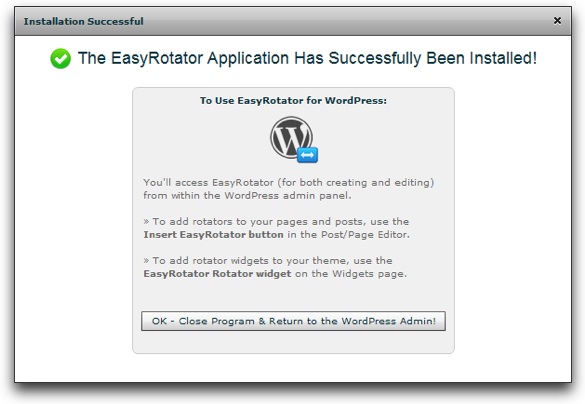
Success! Click the OK button at the bottom to close the application and return to the WordPress admin panel:
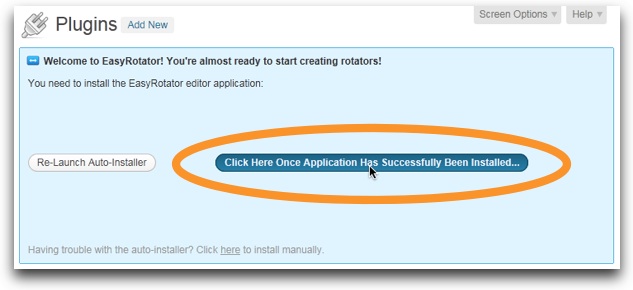
Click the button circled above to continue. You'll see a confirmation that you're ready to start creating rotators:
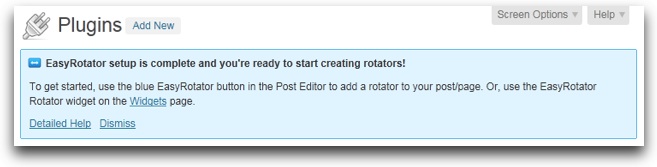
Click Dismiss and you're ready to proceed!
Alternate Manual Install Method for the EasyRotator Application:
In the event you run into any trouble during the automated installation process, return to the WordPress administration panel. You'll see two options:
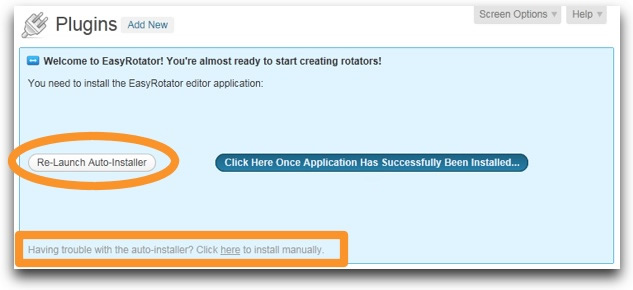
You can either re-launch the auto-installer, or manually install the application. If you experience trouble with the automated installer more than once, use the manual installation option to continue:
Use the Download button to download the application installer. Once the download is complete, run the installer. The prompts are similar to those for the automated installation, as shown above. Complete the installation and you're ready to proceed!
Adding Rotators to Posts and Pages
Now that you have fully installed the plugin, you're ready to start creating rotators! You can add rotators to pages and posts, or add them as widgets to your theme. This section describes adding rotators to posts and pages; the next section covers widget usage.
To add a rotator to a post, you'll need to be in the post editor, creating a new page or editing an existing one. You'll see that there's a new EasyRotator option on the editor (in both Visual and HTML views):
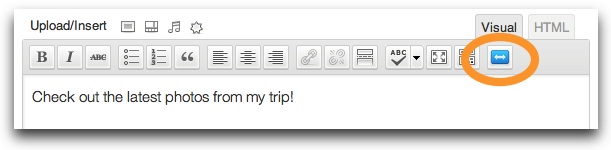

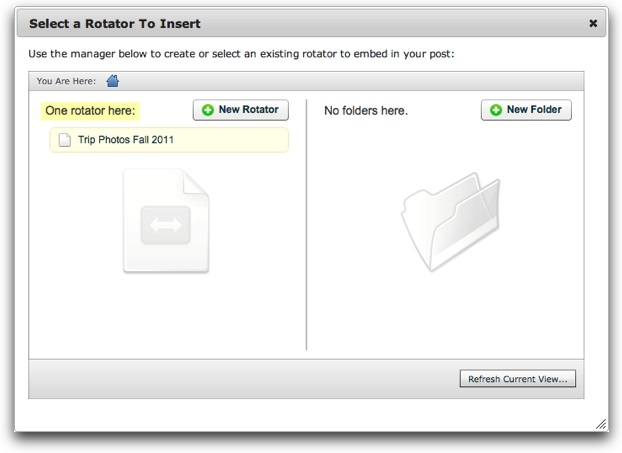
Click on the button to start; this will launch the Insert EasyRotator dialog:
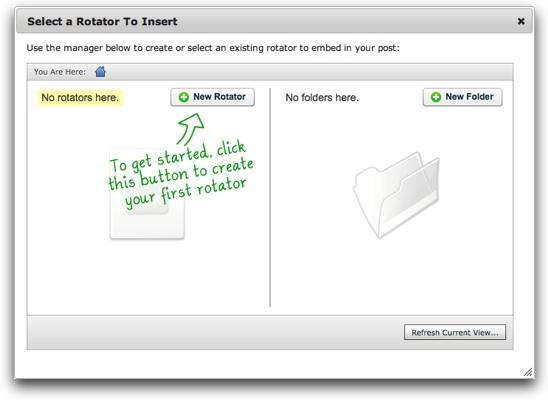
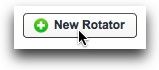
This is where you will create and manage rotators. Click the New Rotator button to begin. This will launch the EasyRotator editor application:
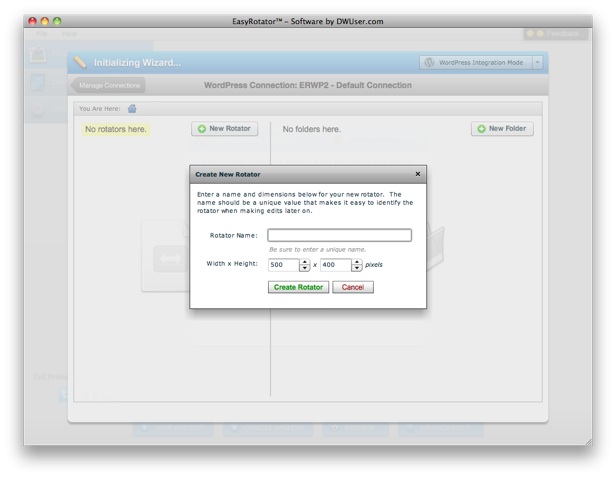
You'll be asked to enter a name and dimensions for the new rotator. The name should be a unique value that will help you identify the rotator in the future when making edits. For example, you might use Trip Photos Fall 2011. Clicking Create Rotator will take you to the main EasyRotator editor:
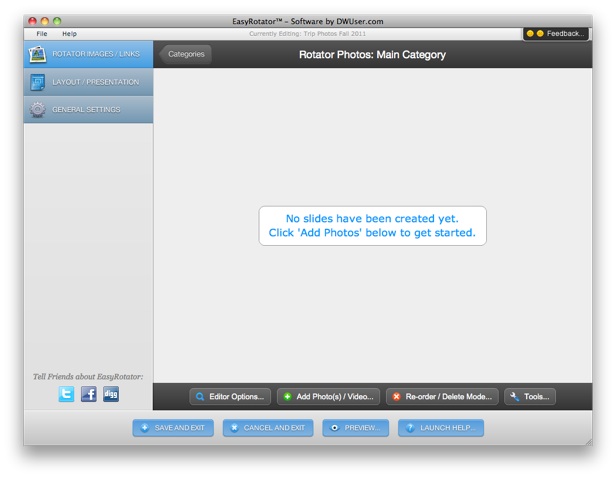
Here's an overview of the interface:
- On the left side are the main navigation buttons. The buttons provide access to the three main sections of the wizard - the Images/Links section, the Layout/Presentation section, and the General Settings section.
- Along the bottom are the main program buttons:
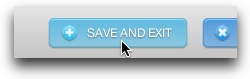
- Save and Exit - This is the button you'll use to exit once you're done creating or editing a rotator and ready to exit the wizard.
- Cancel and Exit - If you change your mind about creating or editing a rotator, you can cancel and none of your changes will be preserved.
- Preview - As you're making changes and creating or editing a rotator, this button allows you to preview your work with a single click.
- Launch Help - Provides a shortcut to this help page.
- The Feedback button on the top right allows you to instantly send feedback about EasyRotator from within the program.
The Images/Links Section is where you'll specify the photos and links to use in the rotator:
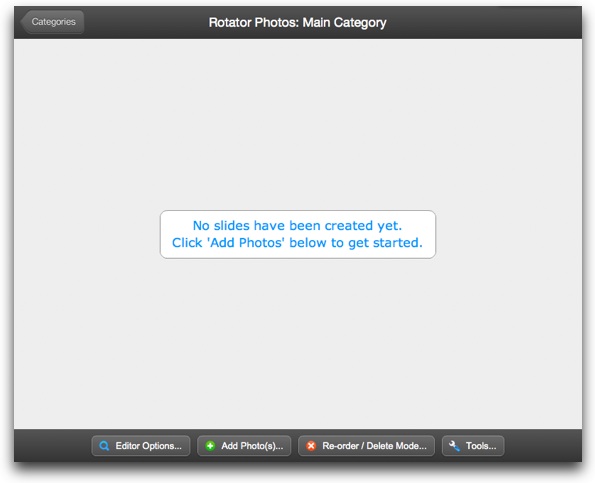
Most layout templates are designed to have only one image category. But for other templates, there may be support for multiple categories. The Categories button in the top-left gives access to the category management view. You'll spend most of your time, though, in the image management view where you edit the photos in a single category (the view pictured above). To create slides for the rotator, click the Add Photos button.
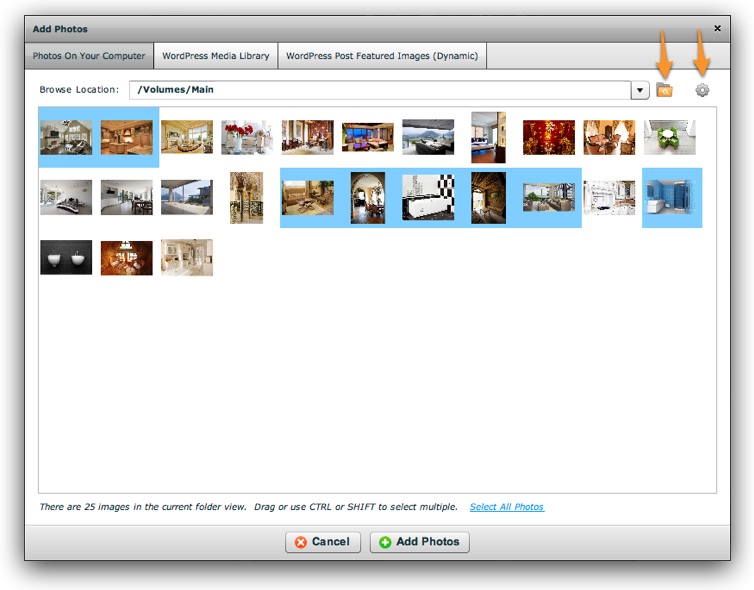
There are several supported photo sources: photos on your computer, photos in your WordPress Media Library, and Featured Images from WordPress posts. For this overview, we'll focus on using photos stored on your local computer.
Use the browse button to select a folder where you have images. Click the gray cog button in the top right to show advanced options, such as thumb size, sorting and filtering. The photos in the folder will be displayed in the grid. For very large photos (e.g. > 4 MB), a placeholder will be shown in place of the real photo; hover over the placeholder to see a preview. Select photos in the grid by dragging, or clicking in combination with the CTRL or SHIFT key. You can use the link at the bottom to select all photos in the view. Clicking Add Photos will add the photos to your rotator and return you to the main view:
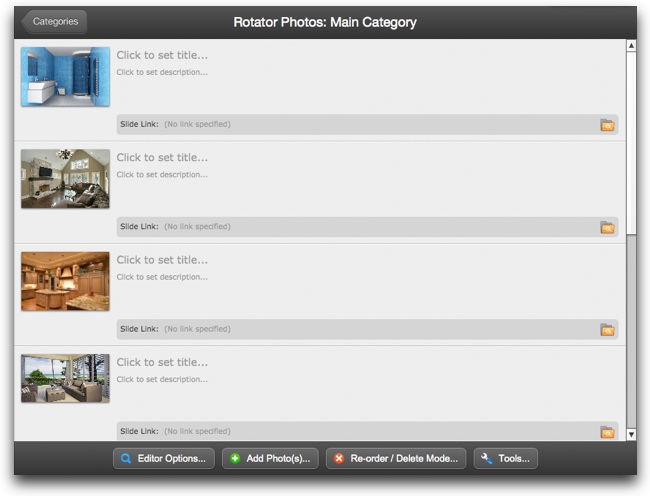
You can see information about a photo along with a larger preview by hovering over it. Double-clicking opens a dialog where you can manually change a photo's source and/or associated thumbnail image. Most of the time, though, you'll only need the options available in the main view. You can specify a title, description and link by clicking and typing on the grayed-out values. HTML can be used in the title and description values.
For advanced users, the Editor Options menu allows you to show more advanced options in the editor, or hide all but the most basic options:
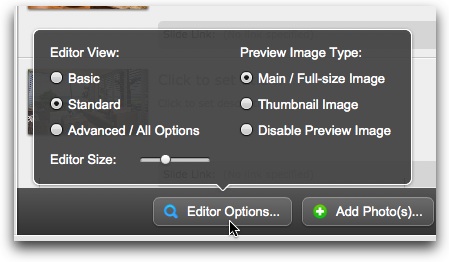
The Editor Size option lets you change the size of each thumbnail, as well as allow more or less room for typing description text. The Preview Image Type option lets you specify what photo should be shown as the preview - the slide's main/full-size image, the slide's thumbnail image, or no preview image.
The Re-Order / Delete Mode button at the bottom lets you toggle in and out of re-order / delete mode. In this mode, you're able to drag around the slides, re-ordering them as needed. You can also remove unwanted slides.
The Tools menu provides access to additional important management tools:
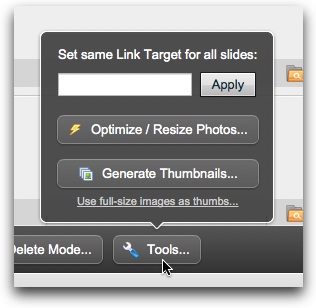
Note that two different photos can be specified for each slide - both a main image and a thumbnail image. For some layout templates, only the main image is applicable, but for many templates a separate thumbnail image is displayed as well. By default, the same photo is used for both; the thumbnail version is just scaled down. However, you can specify a separate image for the thumbnail, and it is recommended that you do this. (You can read more in the free guide you received when registering EasyRotator.) This can be a special scaled and/or cropped version of the full-size photo, or an entirely separate photo. The Thumbnail Generator allows you to easily create thumbnail versions of the full-size photos:
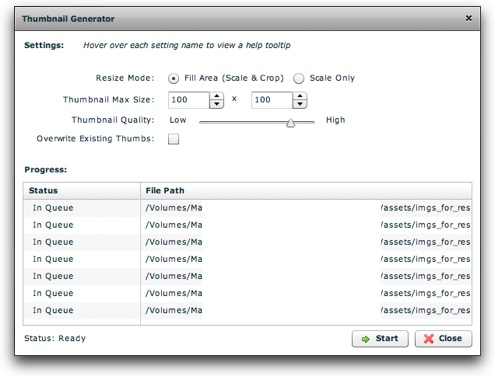
Most of the options are self explanatory; for more information about an option, hover over its label. If you later change your mind after specifying separate thumbnail photos, you can change back to using the same photos by clicking the Use full-size images as thumbs link back in the Tools menu.
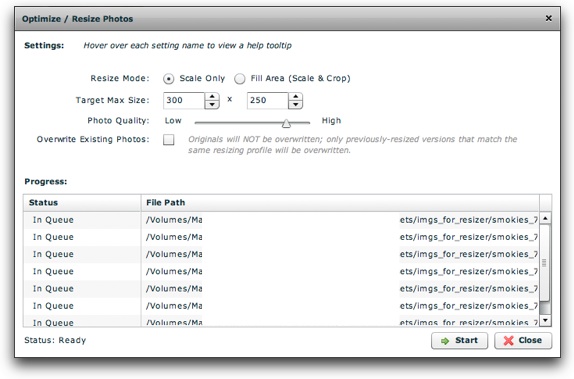
The Image Optimizer / Resizer lets you resize large photos to match the size needed for the rotator, optimizing performance and load time. It functions similarly to the thumbnail generator:
Once you've added all of your photos and specified titles, links, etc, you're ready to configure the layout template for the rotator. Use the main navigation menu on the left to change to the Layout / Presentation Section:
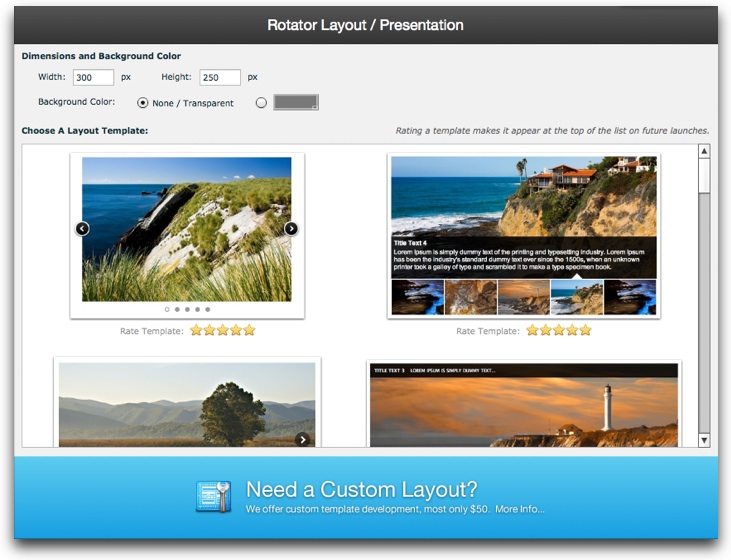
At the top, you can adjust the dimensions and background color. By default, the background is transparent. Then, in the grid below you'll see a preview of all of the installed layout templates. To apply a template, simply click on it. A dialog will appear, letting you choose any available customization options before applying apply the template. If you need a custom layout template, you can find out more about our custom template development services.
Below each template is a star rating option. You can use this to customize which templates appear at the top of the list. Templates with a higher star rating will be positioned first on subsequent launches of the program. This can be used to give easy access to the templates you use most frequently.
Finally is the General Settings section, accessible via the main navigation menu on the left:

The options here are generally self-explanatory. The randomization option lets you automatically have a different slide order each time the rotator is displayed. Autoplay can be used to make the rotator automatically progress from slide to slide until the user interacts with the rotator. Options marked with a 'Pro' badge are available if you have purchased an EasyRotator Pro license for your site.
Once you're done making customizations and you're satisfied with the results in the Preview window, you're ready to click Save and Exit at the bottom:
You'll see a progress bar for a few seconds while your rotator is being deployed, then a confirmation:
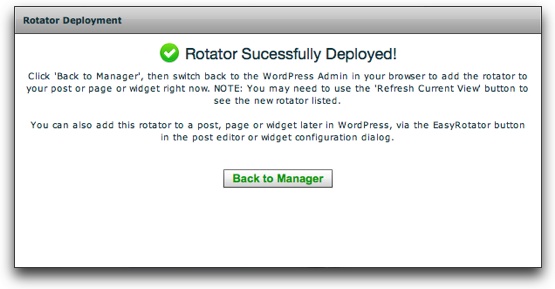
Click Back to Manage to close the editor application and return to the WordPress administration panel. The Insert Rotator dialog will ask how you want the rotator to be horizontally aligned within the post:
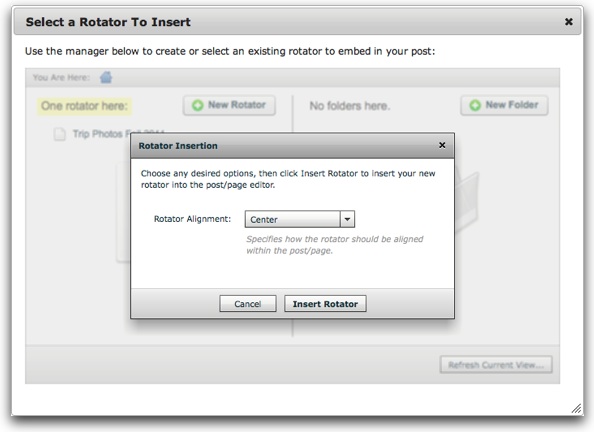
Click Insert Rotator to add the rotator to your post. A special shortcode will be added to the post's text:

You can use WordPress's Preview button to preview your post (including the rotator) right now! As shown above, an EasyRotator box will also appear beneath the editor. This box provides one-click access to various management tools - use the Preview button to preview the rotator (without the rest of the post), use the Edit button to return to the editor application, or use the Open Manager button to return to the EasyRotator management dialog:
You'll see the rotator momentarily highlighted in the list of rotators. If you click on the item, you can access additional management options:
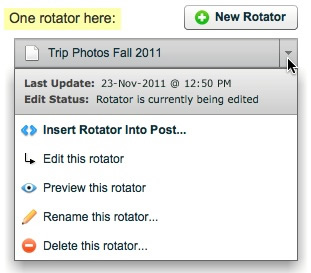
In addition to inserting or editing or previewing, you can also rename or delete the rotator.
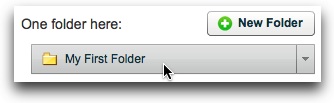
On the right side of the management dialog, you'll find options for creating folders to organize your rotators hierarchically:

Use the New Folder button to create a new folder; click on a folder to open it. Just as with rotators, a dropdown arrow on the right allows for renaming, deleting etc.
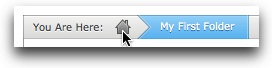
When you're inside a folder, you can go back to a higher folder by using the You Are Here bar at the top left; click the house to return to the
top-level / home folder:
To remove a rotator from a post, simply remove the shortcode from the post's text. You can add additional rotators to a post at any time by using the EasyRotator button in the post editor, then clicking the New Rotator button in the insert/management dialog:
You'll use the exact same method for adding rotators to pages as you use for adding them to posts.
Adding Rotator Widgets to Your Site
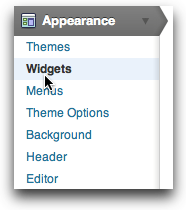
Adding rotators as widgets to your WordPress theme is very similar to adding rotators to posts and pages. First, switch to the Widgets section of the Appearance menu:
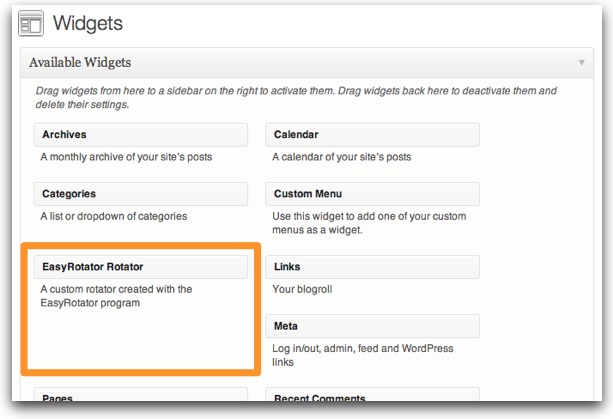
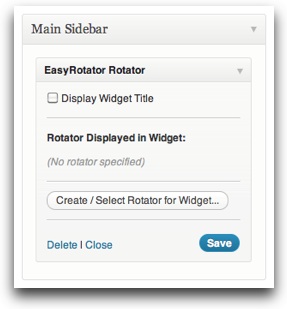
Under Available Widgets, you'll see the new EasyRotator Rotator option:
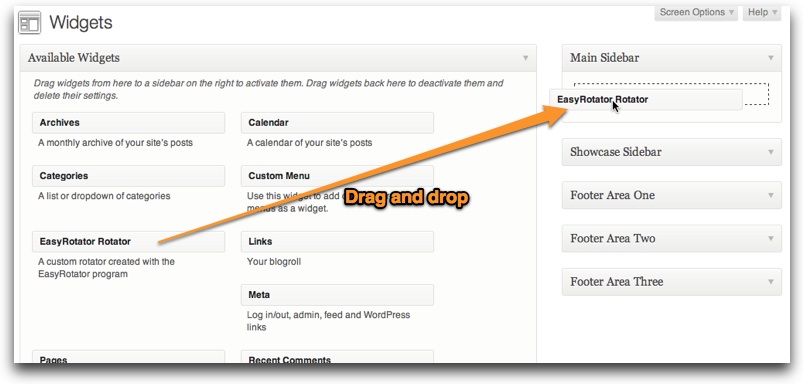
Drag the header of the EasyRotator Rotator item over to the one of the designated widget spaces on the right:
A new EasyRotator Rotator widget item will appear, ready to be configured:
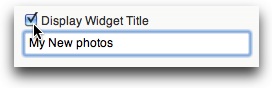
If you wish for a title to display above the widget, select the Display Widget Title checkbox and enter a title:
The important part is the Rotator Displayed in Widget option; this is where you'll specify the rotator to display in the widget. Click the
Create / Select Rotator for Widget button to open the insert / manage dialog:
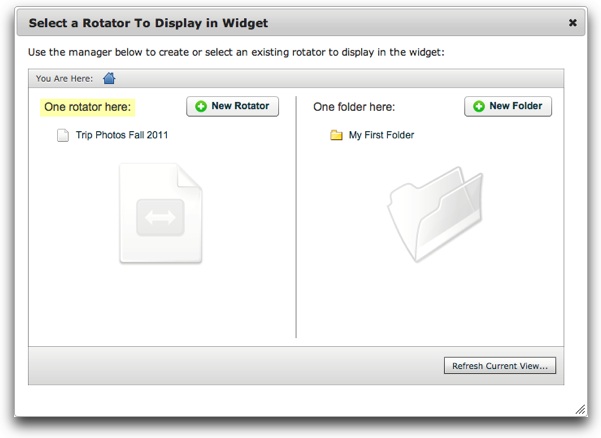
You can create a new rotator via the New Rotator button, or click on an existing rotator to use it instead; all of the options are the same as when adding a rotator to a post or page. Once you've selected a rotator, the dialog will close and your selected rotator will be listed in the widget item:
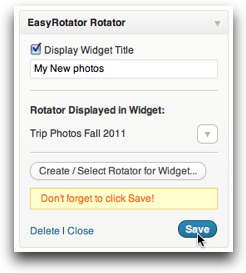
Be sure to click Save to record your changes. You can then load your WordPress site in another browser tab and see the rotator widget! For easy access to management tools, you'll use the small arrow to the right of the rotator name. Hover over it to access the management options:
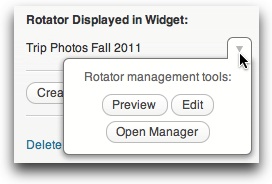
You find options to preview or edit the current rotator, or open the management dialog. The management dialog allows you to select a different rotator to display in the widget or launch the editor application to create a new one.
Advanced Plugin Options
If you're an advanced user, you may want to access the options on the Overview page of the EasyRotator section of the WordPress admin panel:

On this page, you'll find some basic reminders about how to access EasyRotator for WordPress, plus access to API settings for advanced users:
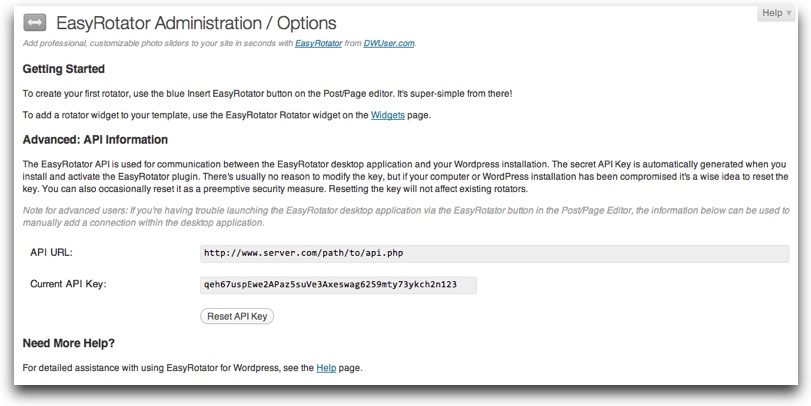
These API credentials are used for communication between the EasyRotator editor application and your WordPress installation. You'll generally never need these API credentials; they are automatically passed, without any action by you. If your WordPress installation or computer is ever compromised, you will want to use the Reset API Key option to generate a new key.
We're Here to Help!
If you have any questions about using EasyRotator for WordPress, please let us know by opening a support ticket below. Please also let us know if you found anything in this documentation confusing, so we can improve it.
Interactive Support Options
Can't find an answer in the on-demand options? Try interacting with other users on the forums or contacting support: