 Download Help PDF (29MB) | Search:
This topic covers the process of adding photos to your gallery, customizing their setup within the gallery, then managing the options for each photo. Automatic thumbnail generation is also covered.
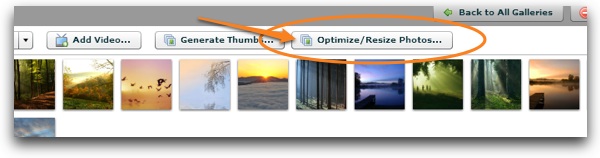
Note: The new 'Optimize / Resize Photos' button is not shown in most of the screenshots below; this new tool, which is covered below, is available in v4 Builds 214+.
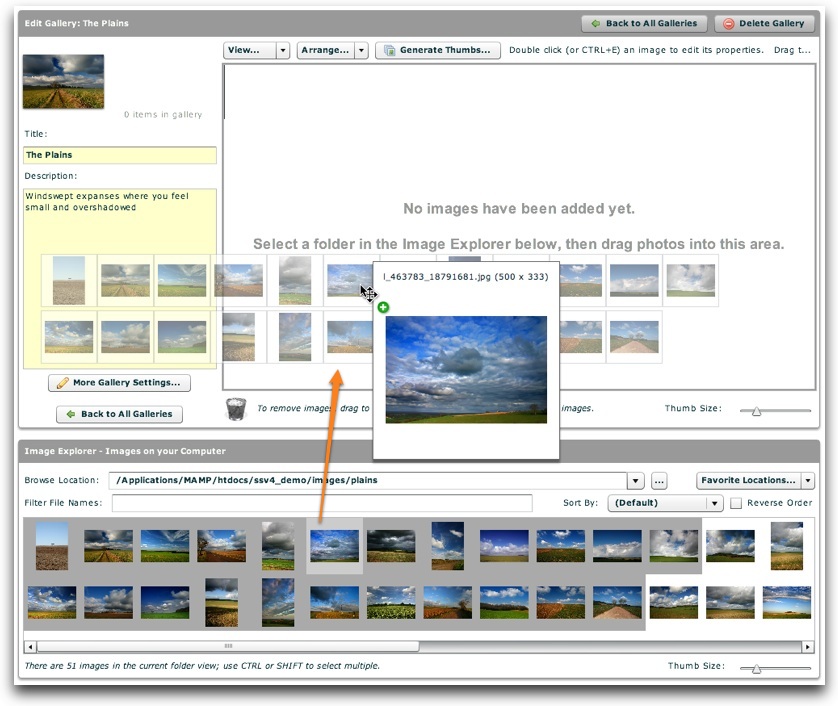
Now for the moment you've been waiting for -- you have a gallery, and you're ready to add some images to it. You should have double-clicked on the gallery and be in single-gallery-edit view, like this:
![]()
As you can see, there are not yet any images in the Images Grid.
In the Image Explorer pane at the bottom, you should have already selected some images to add to the gallery. (This process was covered in detail in the Using the Image Explorer Pane topic. The folder must be within your Dreamweaver site!) For this example, 23 various photos have been selected using a combination of SHIFT and CTRL (CMD). These photos are ready to be added to the gallery:

To add the selected images to the gallery, simply drag and drop them from the Image Explorer into the images grid above:
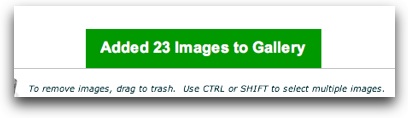
A notification will be displayed, informing you that images were added successfully:
And the newly-added images should appear in the images grid:
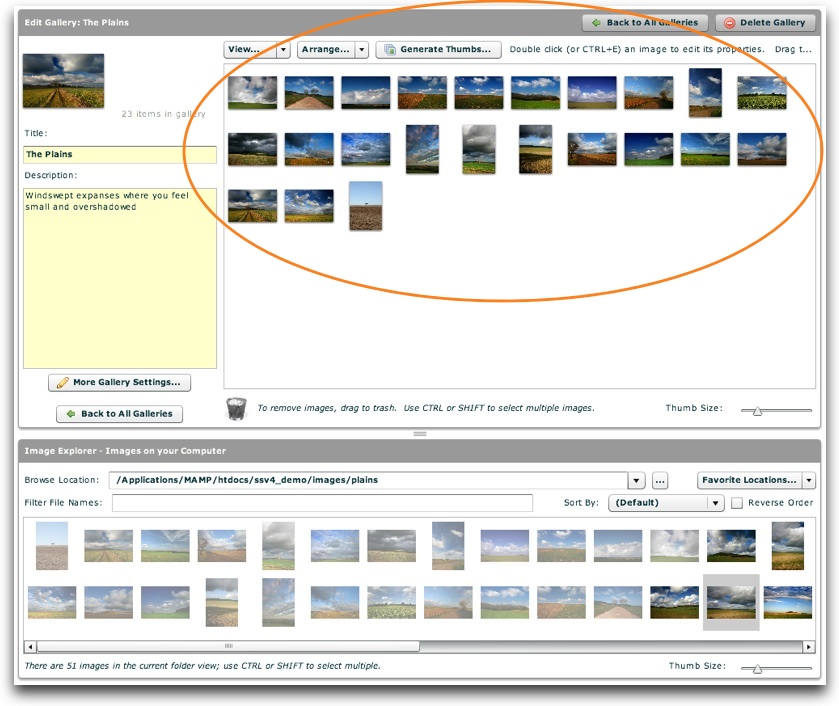
The images which were just added will be grayed-out in the Image Explorer pane, to indicate that they already exist in the gallery.
When an image is added and no thumbnail has yet been created for it, a warning indicator will be displayed on the image:
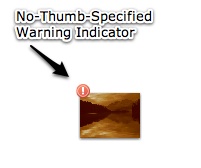
This notifies you that a thumbnail still needs to be created for this image. To learn more about generating thumbnails, see the 'Generating Thumbnail Images' section below. To disable the indicator, see the immediately following 'Customing the Images Grid View' section.
Important note about images [ONLY APPLIES TO BUILD <= 210 ... IN LATER BUILDS USE THE BUILT-IN OPTIMIZER/RESIZER]: While you can use images of any size, it is highly recommended that before adding the images to your slideshow you resize them using a graphics program such as Fireworks or Photoshop to be close to the size at which you plan for them to be displayed. If you don't do this, the images will (unnecessarily) take longer to load, reducing slideshow performance and the quality of user experience.
Note: The built-in optimizer/resizer is available in Builds 214+
If you didn't pre-optimize your photos with Photoshop or Fireworks before adding them to your gallery, you should optimize them with the built-in Optimizer / Resizer after you add them to your gallery. This will ensure the fastest and best user experience for your visitors, as well as reducing wasted bandwidth. The Image Optimizer / Resizer is accessed via the Optimize / Resize Photos at the top of the gallery-editing view:
Usage of this tool is detailed in the Using the Image Optimizer / Resizer subtopic.
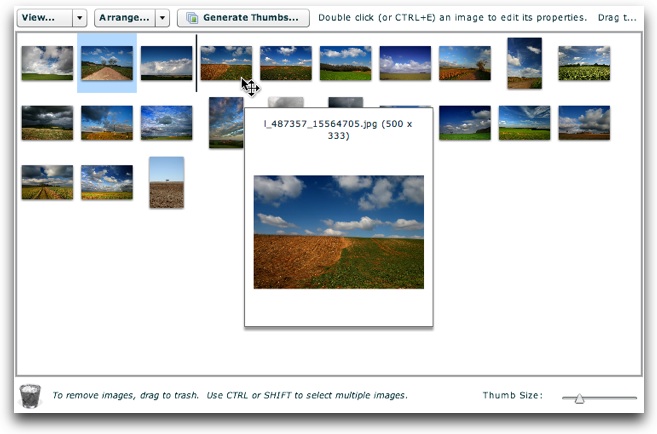
By default, the Images Grid shows a tile-based grid of all of the images in the gallery. Additionally, when no thumbnail has been specified for an image, a warning indicator is shown in the upper-left corner of that image; and whenever you hover over an image in the Images Grid, a tooltip with image information and a larger preview is displayed. These options can be customized through the 'View...' menu above the images grid:
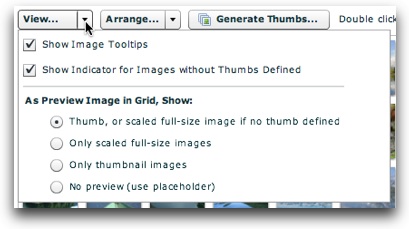
The 'Show Image Tooltips' checkbox enables and disables the image information tooltips.
The 'Show Indicator for Images without Thumbs Defined' checkbox enables and disables the no-thumb-specified warning indicator icon in the upper-left corner of the images in the grid.
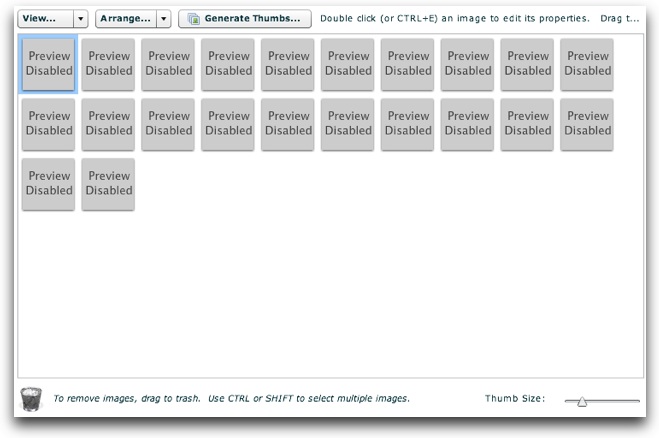
The 'Default Preview Image in Grid' option specifies the default image representation which will be shown in the grid. The default option, 'Thumb, or scaled full-size image if no thumb defined,' will display the image's thumbnail if one is available, or the full-size image if no thumb is available. If 'Only Scaled Full-Size Images' is selected, the full-size images will be loaded and displayed. This option is generally not recommended because it could cause sluggish wizard performance and won't provide the best rendering. Using 'Only Thumbnail Images' will display the image's thumbnail if one is available, or a 'No Thumb Specified' placeholder if no thumb is available. This option can be helpful when determining which images still need to have thumbnails created for them. If you wish to entirely disable the preview images and use a placeholder instead, select 'No Preview (Use Placeholder)'. The placeholder option will give the following rendering:
Note: Keep in mind that all of these settings only apply to the wizard; they in no way affect the appearance of your actual slideshow.
To re-order the images, simply drag the images as needed until the desired order is achieved:
You can also use the 'Arrange...' menu above the grid to perform a quick re-ordering:
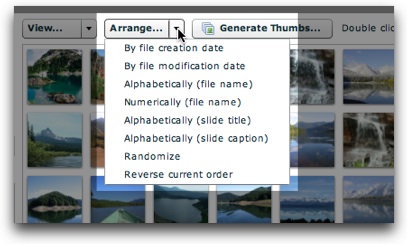
Note that all of the options in this menu -- including Randomize -- only randomize the order of the images in the grid. In other words, this is only a design-time randomization. For true randomization at runtime, you must enable randomization in the main Global Configuration / Playback Settings tab. The 'Alphabetically (slide title)' and 'Alphabetically (slide caption)' options can sort the images based on the image caption and title values you have specified for each image in the Image Properties dialog. The 'Numerically (file name)' option sorts based on the first group of numbers found in the file name, similar to the default sort on many operating systems.
To duplicate an image, hold down the CTRL (CMD on Mac) key while dragging the image. When it is dropped, it will be duplicated instead of moved.
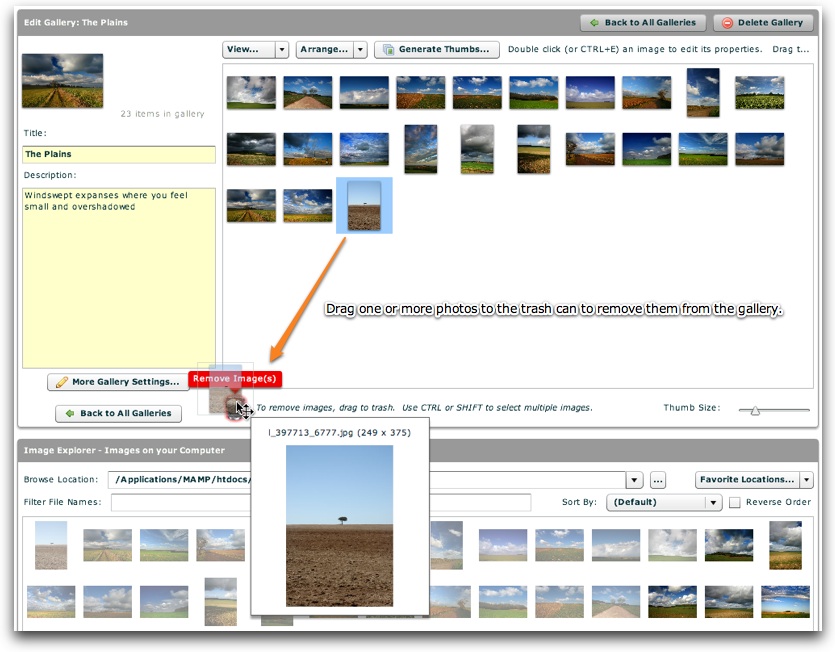
To remove an image, drag it to the trash can just below the images grid:
You will be asked to confirm the deletion:
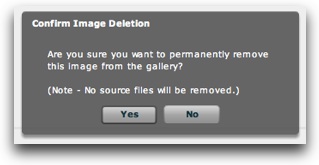
As noted in the message, removing an image from the gallery cannot be instantaneously 'undone'. Any image-specific properties which were set will be lost. Also, keep in mind that the slideshow's configuration is the only thing modified when images are removed; no source files are modified. Thus, you can re-add the images at a later time if desired. If you allow the image removal, a notification will be displayed confirming the removal:

To remove or re-order more than one image, you must select multiple images before dragging dropping them. Just as in the Image Explorer pane, you will use the CTRL (CMD on Macintosh) or SHIFT keys to select multiple images. The CTRL key allows you to select multiple images one-by-one, whereas the SHIFT key allows you to select all images between the current selection and the place where you click with the SHIFT key down. You can then use the CTRL key to modify the selection if you want to exclude some images within the selected block. Once you have made a selection, the selection can be dragged in the same manner as which a single image can be dragged.
Now that you have added images to the gallery, you'll want to generate thumbnail images using the Thumbnail Generator. This process is detailed in the Using the Thumbnail Generator subtopic.
Once you've added images to the gallery, you'll likely want to set some image-specific properties for each image. These changes are made within the Image Properties dialog, which is accessed by either double-clicking on an image in the images grid, or by selecting it and hitting CTRL+E (CMD+E on Mac). You can learn more about using the Image Properties dialog in the Editing Image Properties subtopic.