 Download Help PDF (29MB) | Search:
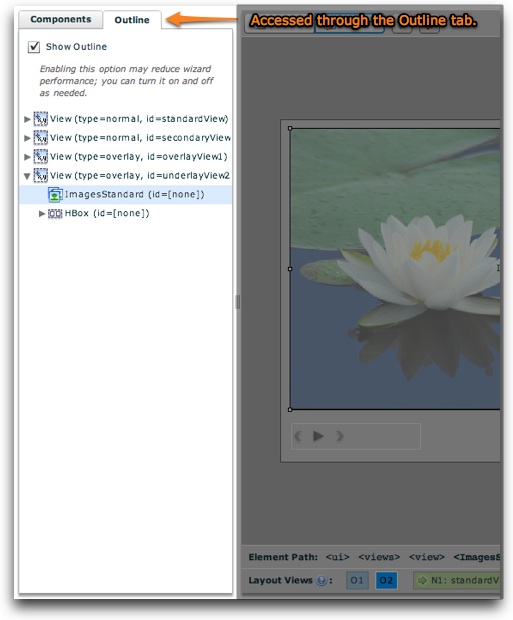
The Outline Panel allows you to see a hierarchical view of all elements in a slideshow's layout. It can be used for easy selection of elements as well as getting a quick overview. The panel is located on the left side of the design area, in the same tab navigator as the Components Panel:
The outline tree should only be enabled when in use, as it may reduce wizard performance. After opening the Outline Panel, you can disable the outline by unchecking the 'Show Outline' checkbox:
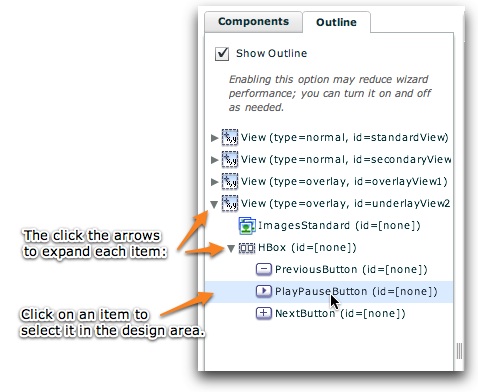
When enabled, a hierarchical tree view of layout views and their constituent elements is shown. To expand each expandable item, click the gray arrow at its left edge. Clicking on an item will select that element in the design area and allow you to edit its properties in the Properties Panel.
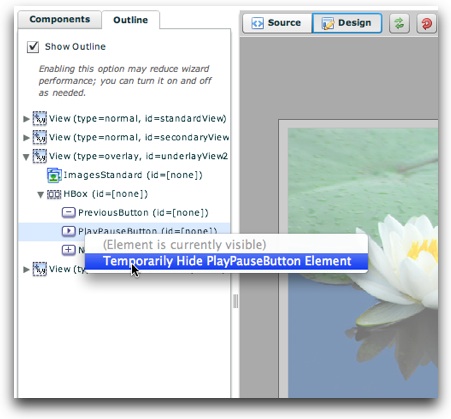
You can also temporarily hide (and unhide) elements from being visible in design view through the outline tree. To do this, right-click (Cmd+click) on an item in the tree and select 'Temporarily Hide Element Name Element':
To unhide a hidden element, select 'Unhide Element Name Element':
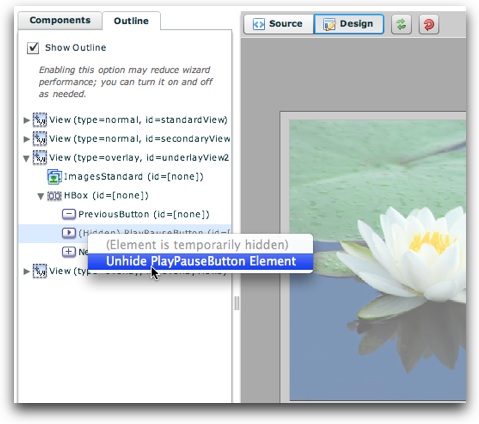
Temporary element hiding is helpful if there are multiple elements on top of each other; hiding the upper elements allows access to the lower ones. When one or more elements is hidden, you'll see the following notification bar at the bottom of the design area, allowing you to easily un-hide the hidden elements:

You can also change the visual stacking order of elements by right-clicking (Cmd+clicking) on an element in the tree and selecting Move Item Up or Move Item Down:
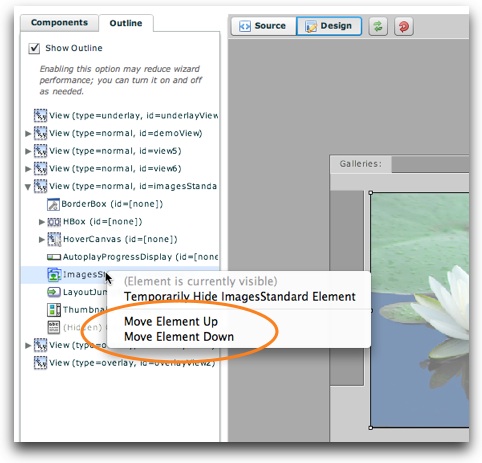
Move Item Up moves an item above its nearest sibling, toward the top of the visual stack (closer to the screen). Conversely, Move Item Down moves an item below its nearest sibling, towards the bottom of the visual stack (away from the screen). Note that the bottom of the outline tree represents the top of the visual stack, so Move Item Up actually makes the element move one place lower in the tree.