Download Help PDF (29MB) | Search:
Ken Burns effects (KB effects) allow you to create re-usable image effects which incorporate both panning and/or zooming. Because you will often use the same effect on multiple images, KB effects are defined as standalone effects, each with a unique ID value. Then, when you want to use a specific effect for an image or gallery, you will reference the effect's ID value. Because all KB effects are stored centrally, you will use the KB Effect Editor dialog to manage the effects. The editor is accessed through either the Gallery Properties dialog (which establishes a default for the entire gallery) or the Image Properties dialog (which establishes an image-specific effect):

The editing dialog appears initially as follows:
![]()
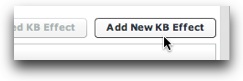
So far, no effects have been created. To get started, click the 'Add New KB Effect' button above the grid:
The new empty effect will be created and you will be notified:
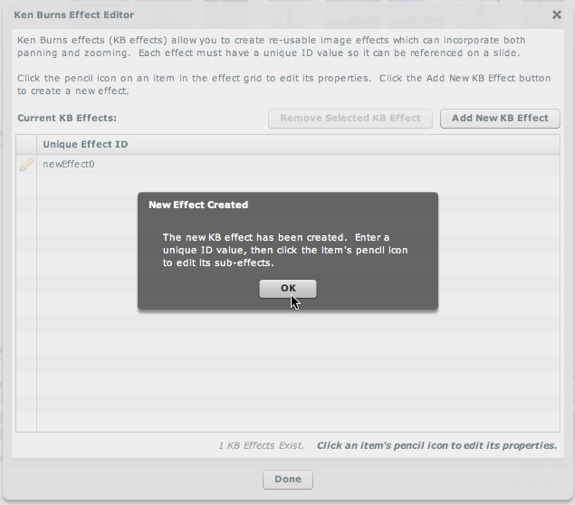
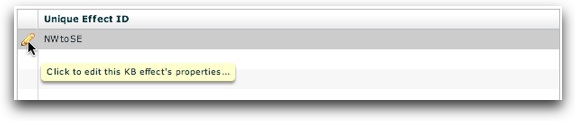
As noted in the alert box, you must now give the effect a unique ID value with which it can be referenced. While the default value (newEffect0 in this case) can be retained, it is better to use a name which has significance, e.g. NWtoSE for an effect which goes from top-left to bottom-right. To edit the ID value, click on its ID in the effect grid:
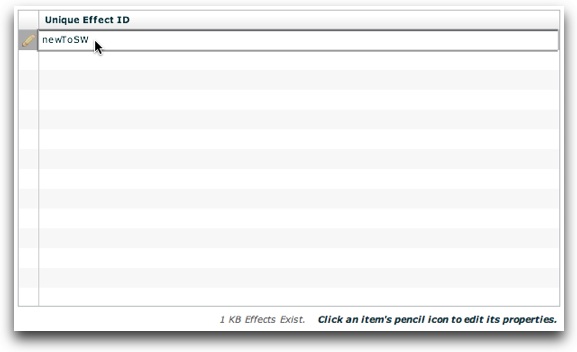
If you want to remove an effect, click on it to select it, then click the 'Remove Selected KB Effect' button:

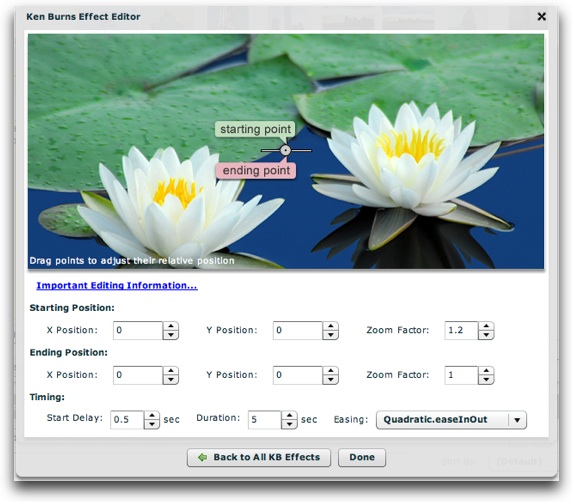
Now that a new effect has been created, you're ready to configure the effect's properties. Each effect has two points which you configure: its starting point (the initial position), and its ending point (the final position). Each of these points has three properties:
If either the relative X or Y coordinate value is outside the image's actual dimensions (e.g. an X value of -300 on an image which is only 400 pixels wide, where -200 is the smallest possible value), the value will automatically be adjusted to the maximum possible value (-200 in this example). Because of this, you can use a very large X or Y value to ensure that an effect always starts at the edge of an image (e.g. 1000 or -1000).
Unless you are using images larger than the visible area, you will not want to use a zoom factor of less than one (which represents zooming out).
When an image opens, it will be initially displayed at the starting point. If any start delay has been applied, it will stay there until the delay timer completes. Then, over a period specified by the duration, it will pan and/or zoom to the ending position. The Easing parameter controls the easing effect (e.g. easing in, out, or both) applied to the transition. If you specify the same value for any property at both the starting and ending points, no transition will take place in that dimension. For example, if you specify a starting and ending zoom factor of 1 no scaling/zooming will occur.
To edit an effect's properties, click the pencil icon to the left of the effect's ID value:
This will transition you to the effect property editor view:
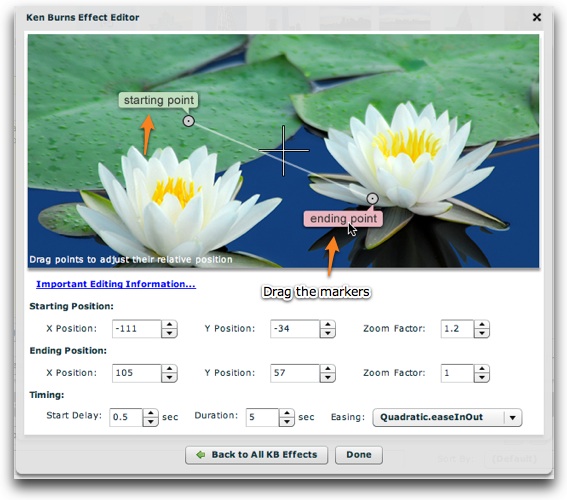
The image represents an example slide. The crosshairs in the center represent the exact center. You can manually edit the starting, ending and timing properties at the bottom, or you can visually edit at the top by dragging and dropping the starting and ending markers. For this top-left to bottom-right example effect, you might drag the markers into a position such as this:
When you're finished editing an effect's properties, click the 'Back to All KB Effects' button to return the main effect grid (to, for example, create more effects); or, click Done to exit the KB Effect Editor dialog: