 Download Help PDF (29MB) | Search:
If you have a small slideshow in your page, you may wish to use a Lightbox-style popup when users click on an image, allowing them to see a larger view of the photo. For simplified integration and reduced file size, it is highly recommended that you use a Lightbox2 clone for jQuery called Slimbox2. (Slimbox greatly simplifies integration by having a direct javascript API, whereas most other scripts are only designed for HTML integration through setting a <a ... rel="..."> value, which cannot be used inside a slideshow.)
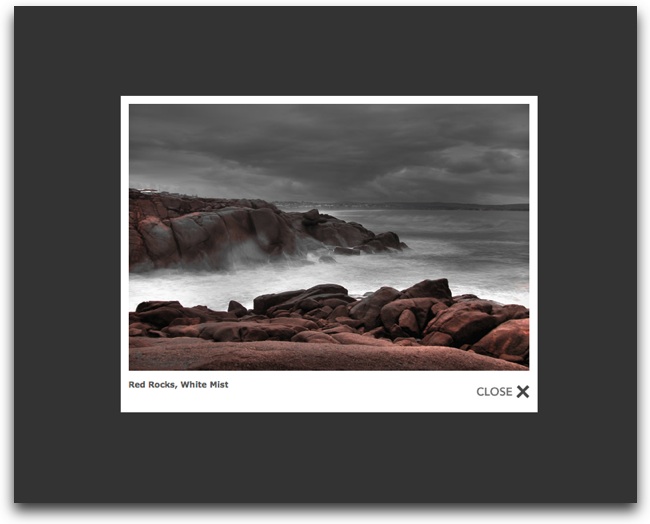
In our example, we have a small slideshow in the example page (it is only 300 x 200 px). When completed, clicking on an image in the slideshow will result in a popup like this:
First, Slimbox must be installed to the HTML page which holds the slideshow. Full instructions are available on the Slimbox page, but they have been summarized here:
Note: See the Slimbox usage guide for more information about customizing the appearance and behavior of the lightbox popups.
In the Image Properties dialog for the image/slide you wish to use, select the Image Link tab:
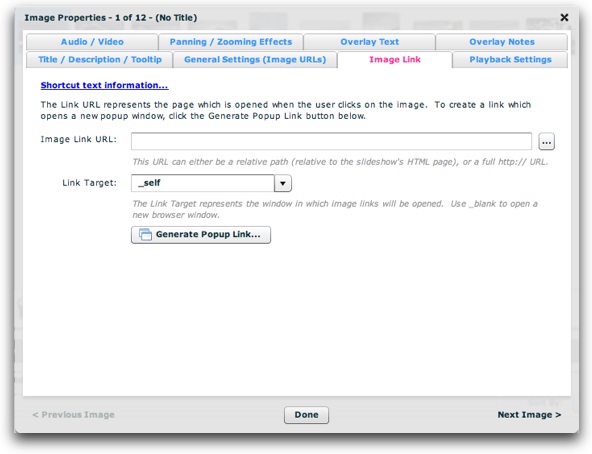
In the Image Link field, enter the following:
javascript:void(jQuery.slimbox('{image.srcFull}', '{image.title}'));
This will open a lightbox popup which displays the image and its title. If you only want the image (without the title), use the following:
javascript:void(jQuery.slimbox('{image.srcFull}'));
Note that in both cases the image information is dynamically referenced using Replacement Values, and quotes are used around the string values.
Also make sure that Link Target is set to _self then save and exit.
When you view the slideshow in a browser, clicking on an image will open a lightbox popup and pause the slideshow:
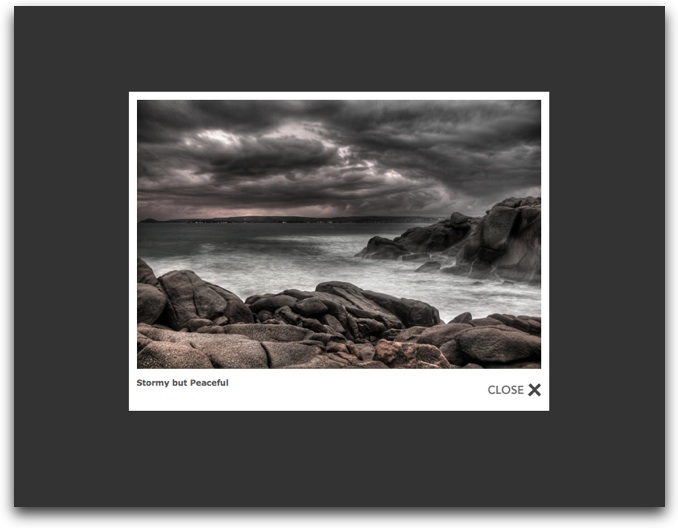
To close the popup, click the darkened area outside the popup, click the Close button or use the Esc key. If you wish for the user to be able to resume the slideshow, you must include a PlayPauseButton element. Also note that all images are displayed in the lightbox in isolation (e.g. there are no next/previous buttons). The lightbox integration is designed to enlarge a single photo, not become an alternate slideshow.
To apply the lightbox effect to all photos in a gallery, open the gallery you wish to apply the effect to and click the More Gallery Settings... button to launch the Gallery Properties dialog. Select the Gallery-Wide Defaults tab:

Enter the Link URL and Link Target values as mentioned above in the corresponding Default Image Link URL and Default Link Target fields. The lightbox effect will now automatically appear for all photos in the gallery.